Happy Holidays!
Hello dear readers ... I am just popping into my Studio Journal to add a painting
that I have some progress pictures for.
I am in the process of inventorying my paintings ...
gack! 😳
... something I should have done years ago.
So, this particular picture is #79.
I painted it, I think, in 2023 ... although I thought it was earlier.
Here you go:
 |
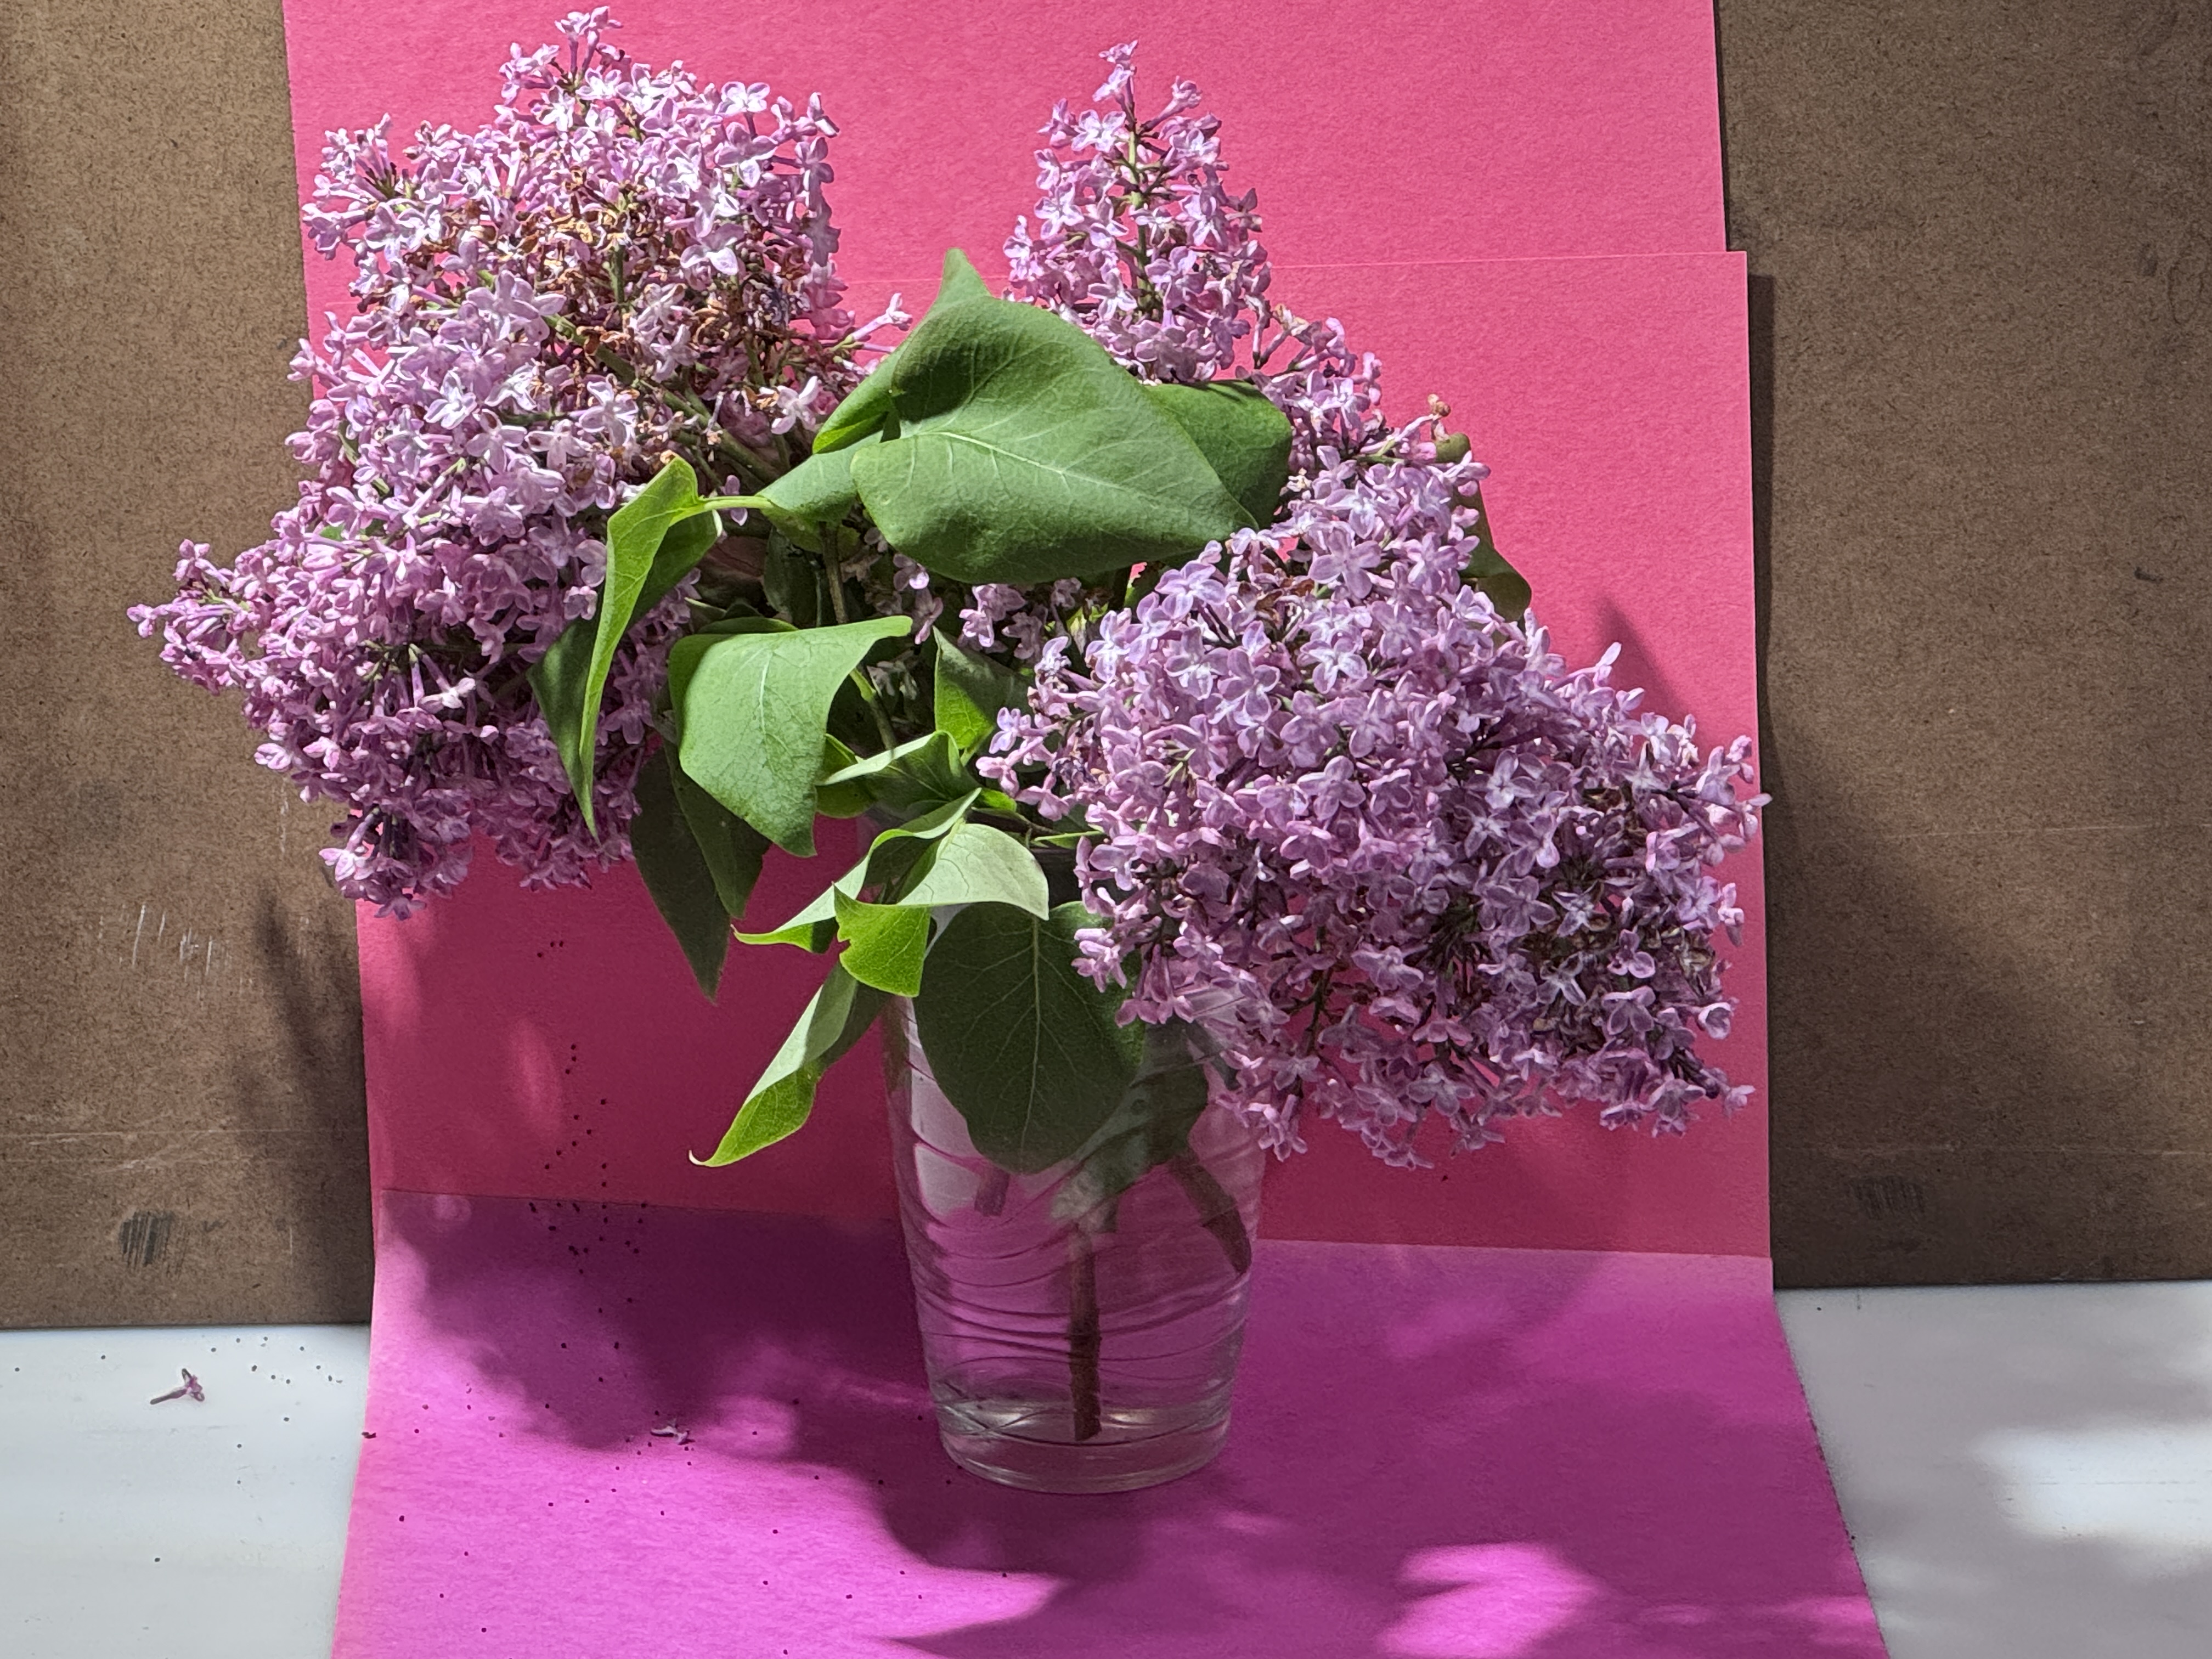
I found this picture in an old Martha Stewart magazine. |
 |
In my large sketchbook I drew an approx. composition. |
 |
With a yellowish undertone on the 14" x 11" Multimedia artboard, I drew my motif. |
 |
Added my purple wall, changing things to my liking. |
 |
After untaping. |
 |
This is the back. It is not adhered to the archival foam core. |
 |
| The Purple Wall Oil on Multimedia artboard 14 x 11 inches |
 |
Here she is framed, by my framer extraordinaire (Matthew Robus) |
This painting is on my website, in the Flowers Collection. Please feel free to email me at <teri@terirobusstudio.com>
if you have any questions.
🎄
I hope everyone is enjoying friends and family during
these December holidays. Take very good care and I will
write in this art studio journal again soon.
Oh, and if you are a subscriber to my newsletter,
I will be sending that out in the next week or so, so keep your eyes peeled for that.
If you would like to sign up for my free, no stress (unsubscribe any time)
mostly monthly Studio News, go here:
Thank you for reading and your support!
all the best,
Teri